I seem to be averaging about a post a month. Not that there isn't plenty to share, just that I have to get a concept first. A theme or a particular point I want to make.
This topic is Perseverance. For years Hub has talked about having some bees. I had no idea what all that involved. I suppose I was as clueless about beekeeping as he was about horsekeeping when we first entered into that together. I admit that I haven't been as supportive of his bee planning as he was about the horse enterprise. The idea of having bees seemed fine to me. I envisioned a white hive or two way WAY back in the corner of our property where I would never have to go near it. I thought you just called someone and asked them to deliver the hives to your property. You set them down wherever you wanted them sort of like a round bale.
Here is what getting bees on our property entailed:
(HUB did every single bit of this without my assistance)
1. Find out when Bee Keepers' meetings are held. Attend them. They have them in Round Rock, Brenham, Temple...Amazing to me how many beekeepers are out there. He has now attended at least four meetings (in the past two months).
2. Buy a hive. (Not the bees, just the box). Assemble it. Paint it. Prepare it. The hive he is setting up is a top-bar hive. So, there are these stick things that fit into the hive which have grooves in them. Each groove had to be filled with beeswax. Legs had to be put on the box. The box had to have three coats of paint. There had to be a "cover" made for it.
3. Purchase brood and a queen. I think this is called a Nuc (not sure of the spelling). Ordinarily, the queen, two to three pounds of bees and frames of brood are put into a temporary box for transporting home. But, since we got a different type of hive, a top-bar hive, it wasn't that simple. The fellow who sold us the "nuc" (who is near College Station) allowed Hub to bring his box home. The bees in the box had to be "smoked" (this calms them and settles them) so that the box top could be removed and sugar water could be placed inside for the bees to live on until they were transferred to the top-bar hive. The amount of time recommended for them to settle is one day. Ours ended up having to spend about 10 days in that box. It did have an opening so that they could get out for some fresh air, water and nectar from flowers and trees.
4. Set up for transfer. Hub carried a table out near the hive. On it he placed the smoker, a knife, pliers, and a plate. He put on his bee suit (which he purchased used from someone at one of the meetings). The veil and hat are all but wore out and need replacing. He had to have the veil taped tightly with masking tape so that there were no gaps. I did get to do the taping. I did miss a spot because a bee did get into the veil and sting him. Not sure how; I saw no openings. But, it was disconcerting to be given the job of protecting him and have a bee beat me.
5. Smoke the box they were in. Open the lid. Remove the ...WHAT ARE THOSE CALLED?...(I looked it up) frames one at a time. There were nine in there, I think. Take the frame to the new hive box, with a beebrush gently scrape (brush) the bees off the frame (which has comb and brood attached to it) into the new box. Take the frame to the table, cut the comb containing brood loose from the frame. Slice it into a shape that will fit into the new hive (because it isn't the same shape as the old hive). Attach this piece of comb with brood (using pliers and wire) to the support pieces in the new hive. Do it again, and again, and again, and again...Come ask your wife to please pull stinger out of your neck and retape the veil. Drink water and wipe sweat while face is exposed.
6. Now that brood and hopefully the queen are in the new hive box, close it and leave space at base for bees to squeeze in and out barely. Idea being that they should stay in the new hive for a day or so to become acclimated.
7. Carry the frames into house and squeeze honey out of the remaining comb attached to them. Filter honey. We ended up with about a pint.
8. clean up mess.
So, that's a brief summary; there was more to it. The box had to be returned to the lender. The bees seem to be accepting their new hive. The hive is about 70 feet from my porch. Hub says these are extremely gentle bees. So far they haven't stung me. Or the dogs. The cat actually went to the hive and tried to climb up to the box. It appeared that they did not mind him overmuch since he is still alive and I didn't see any swellings on him to indicate he'd been attacked.
We got our hive set up about two days before the summer solstice. The bees are ahummin' and abuzzin' out there.
Hub also has his other project now underway: his garden. There are five tomato plants and three grapevines and ... (not sure if there is anything else at the moment) growing in it.
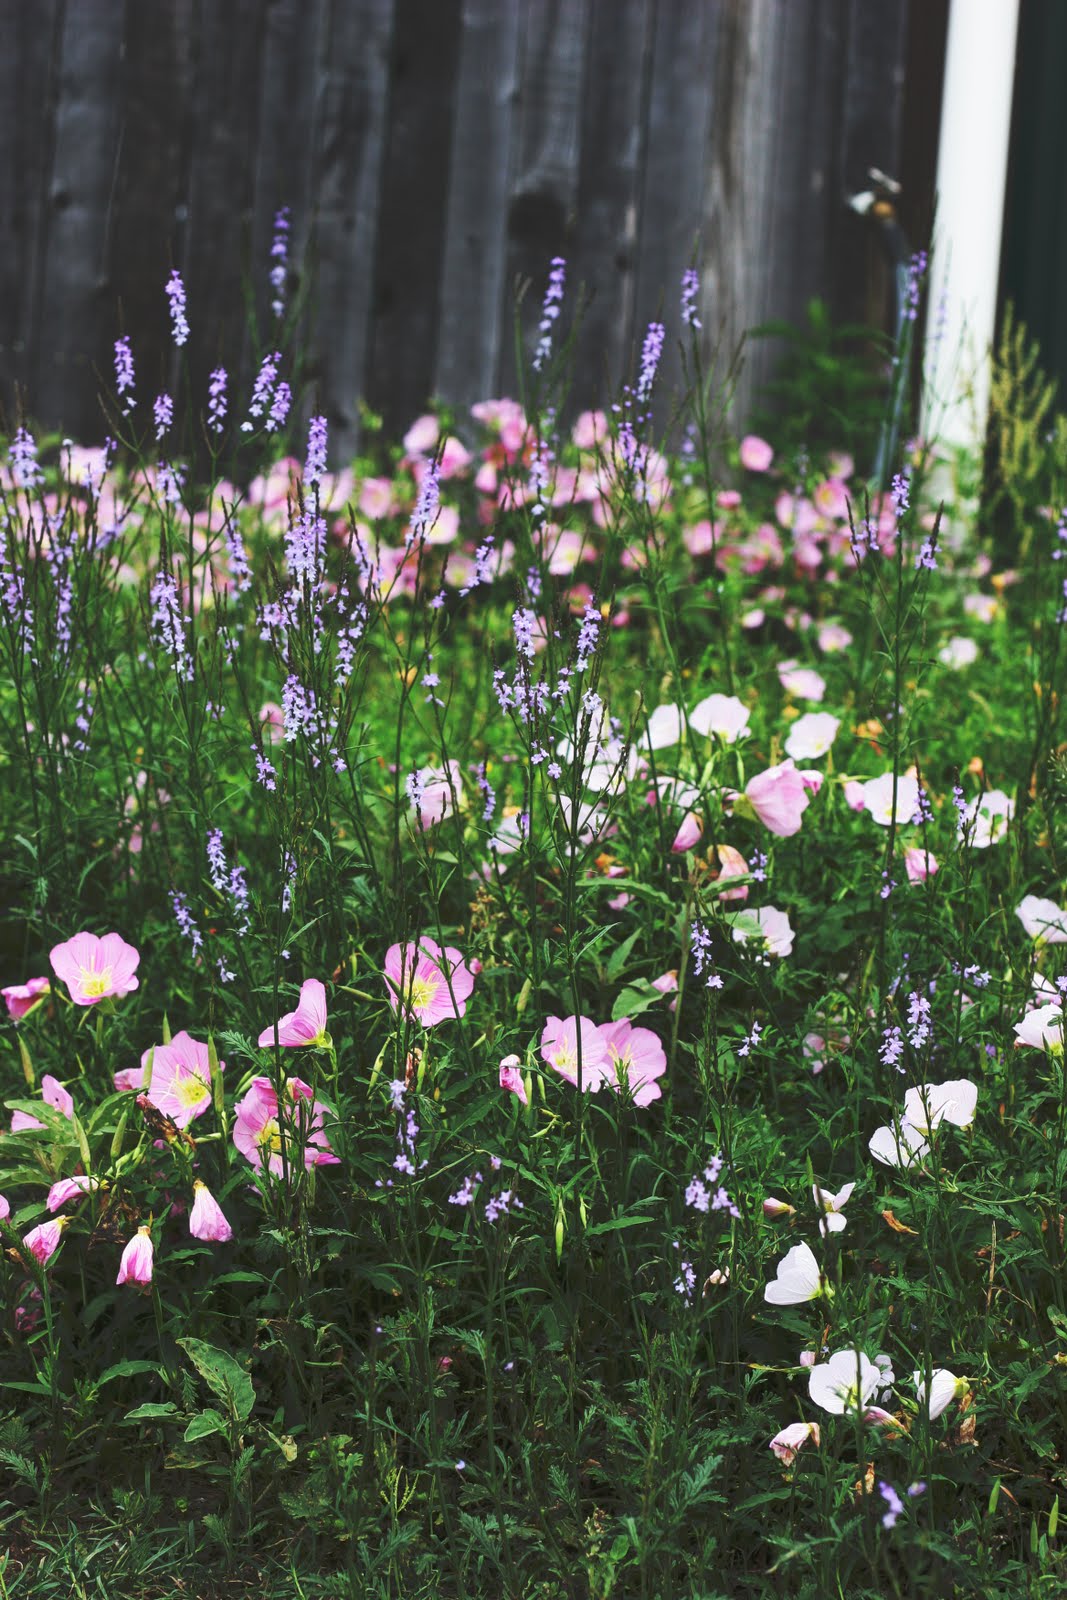
The rain we've gotten has been wonderful! We've had a glorious spring. There is more grass than the cows can eat. They are obese. And we still have wildflowers (beefood).
Here's Rely still sporting dapples into June (usually we only have those for a few weeks in April when he first sheds out).